Pitching a Caravan
 When you’re pitching a caravan for the first time or looking into refining your caravan pitching technique, there’s a lot to consider. Where should you pitch your caravan? How do you unhitch your caravan? How do you make sure your caravan is level? What if the caravan is on an uneven surface?
The following guide addresses all of the above questions, helping you to pitch your caravan safely, simply and strategically. Once that’s all dealt with, you’ll be free to spread out, set up any caravan awnings, enjoy the new scenery and seek out adventures in the surrounding area.
Selecting the right pitch
The first step to success when you’re pitching your caravan is selecting the right pitch. Unsurprisingly, not all caravan pitches are created equal. There are grassy or gravel pitches to consider, pitches with or without electric hook-up and other landscape features such as sloping ground or uneven surfaces. Each option has its own set of advantages and disadvantages.
Should I pitch my caravan on a flat or sloping pitch?
Wherever possible, opt for a flat caravan pitch rather than a sloping pitch. The more level your pitch, the easier and quicker it is to level your caravan. In fact, most completely flat pitches may not require you to level your caravan at all.
Do I need a grassy or gravel caravan pitch?
There are several advantages and disadvantages to choosing a grass pitch or a gravel pitch for your caravan. While some of it comes down to personal preference, such as the feel of grass under your feet, your choice will also impact how easy it is to level your caravan and set up awnings.

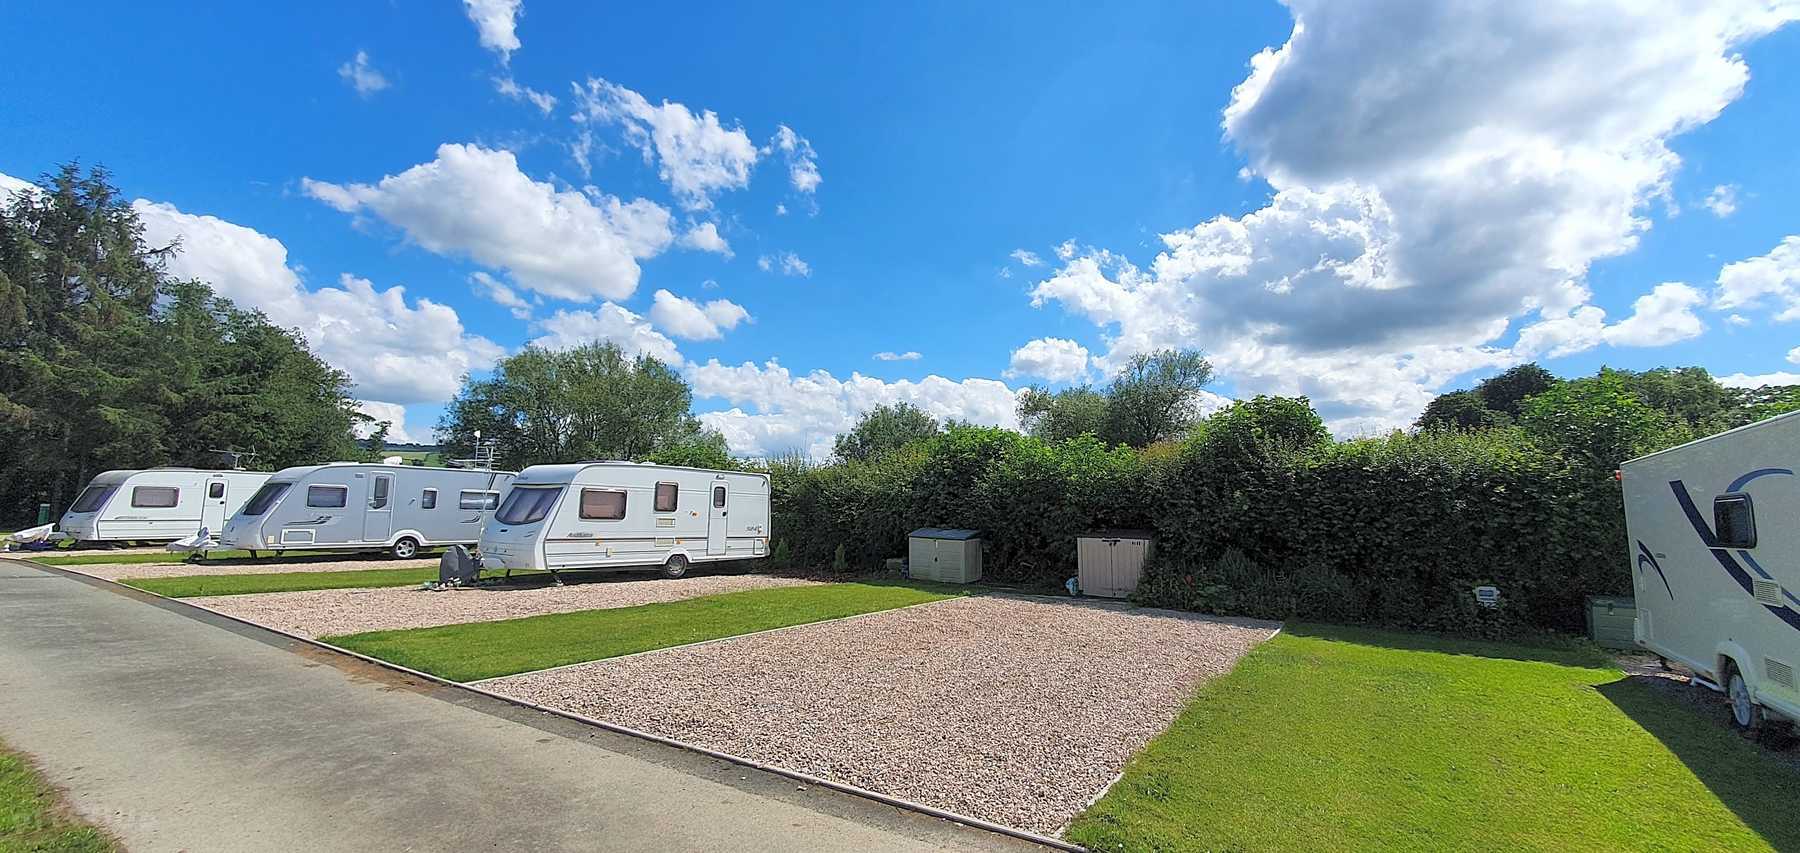
Gravel pitches
Gravel pitches are usually relatively flat, making levelling your caravan easier. They also have clearer pitch boundaries than grass pitches, making it easier to separate your space from your neighbour’s.
Grassy pitches
Many caravanners prefer the feel of grass under their feet and find it an easier surface for setting up awnings with pegs. The big downside of grassy pitches is that they make it harder to level your caravan, and in wet weather the grass can become muddy, causing your caravan to sink and destabilise if you don’t use blocks or mats under the steadies.
This makes it trickier to tow your caravan away at the end of your trip, and means you are also more likely to tread mud and grass inside the caravan.
Should I choose a caravan pitch with electric hook-up or without electric hook-up?
On a pitch without electric hook-up, you will only be able to run 12V appliances that can operate off your caravan’s leisure battery. Choosing a pitch with an electric hook-up means that you have more freedom to operate electric appliances with a higher total voltage, as long as the total does not exceed the power of the connection supplied by your caravan site.
Do I need a fully serviced pitch?
A fully serviced caravan pitch usually provides an electric hook-up connection point, freshwater connection and wastewater connection. That means that as well as having access to mains electricity, you don’t need to transport waste water to a disposal point manually. You also receive fresh water directly to your caravan.

It’s a convenient option for many caravanners, especially those who lack the strength to push or carry a container and those who get through a large amount of water. If you don’t run through much water, there are wastewater and freshwater containers that can be rolled, pushed or pulled around the caravan site, making it slightly easier to get to the nearest disposal point.
Other selection criteria
Once you’ve addressed the above points, choosing your pitch is also a matter of personal preference and convenience. Some of the questions you might want to consider include:
-
Do I want a pitch in the shade to keep my caravan cool during hot weather?
-
Do I need a parking space next to my pitch to unload my car?
-
Is this a quiet area of the caravan site?
-
How far away are the site’s facilities such as toilets and waste disposal points?
-
Does the pitch have good scenery?
-
Is there sufficient space between my pitch and the neighbouring pitches?
-
Am I near any rivers or bodies of water that could flood my caravan?
Positioning your caravan
Before you move onto unhitching and levelling your caravan, you also need to position your caravan on the pitch. It’s important to get this right because once you have unhitched and levelled your caravan, there’s no going back without starting the whole process over again. 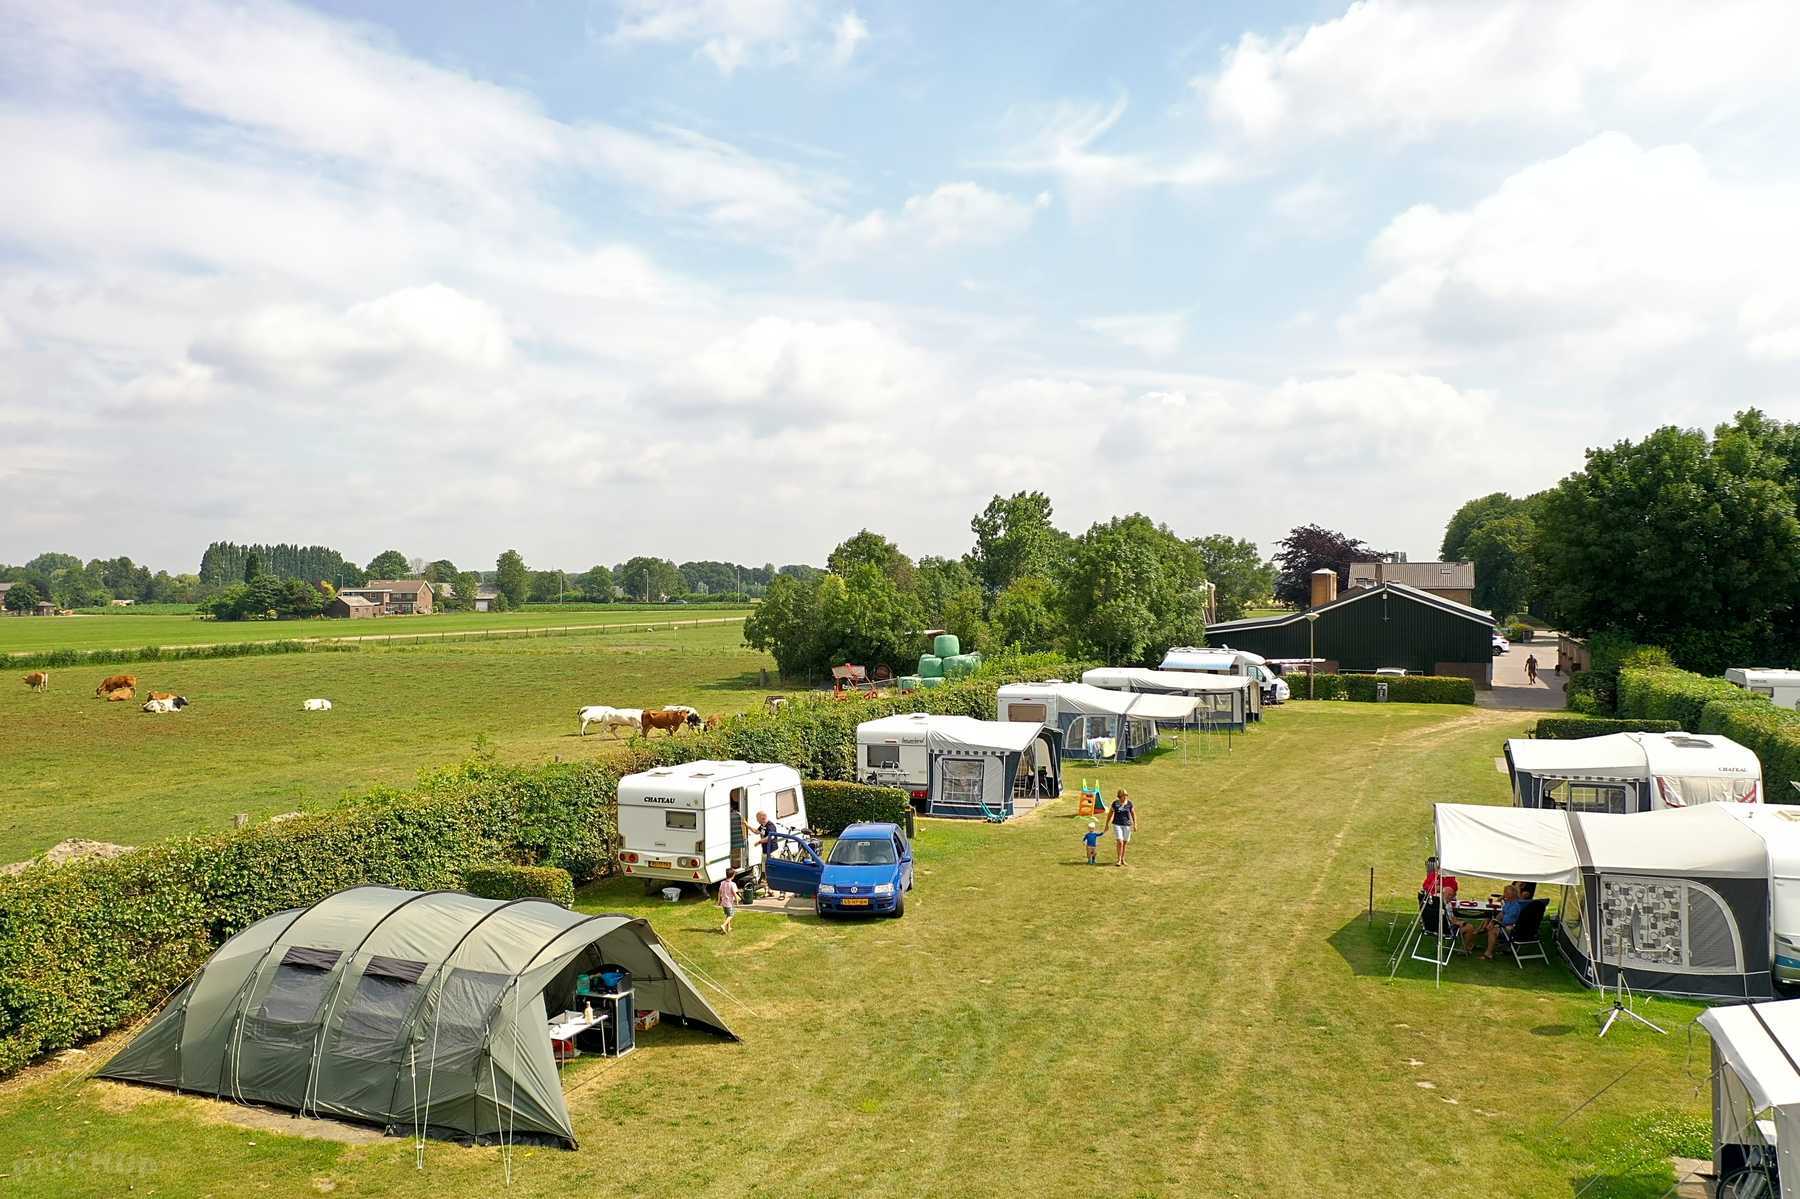
The following steps will help you to position your caravan:
-
Position your caravan so that it’s not crossing over the boundaries of the neighbouring positions.
-
Make sure that you have sufficient space to set up any caravan awnings without intruding on other pitches.
-
Face the front of the caravan towards your preferred scenery.
-
Make sure that there is easy access to any electric hook-up points and freshwater or wastewater connections, and that your cable will reach.
How to unhitch your caravan
The next step in pitching your caravan is to unhitch the caravan. This isn’t as complicated as it sounds.
1. Park your caravan in its desired position.
Once you have selected your pitch and decided exactly where you are going to position your caravan, there are several ways to park your caravan.
The first option is to use a caravan mover. This needs to be fitted in advance and it’s the easiest option to park your caravan because it uses a remote control. First, you need to lower the jockey wheel and then position the caravan by moving it with the remote control.
The second option is to reverse the caravan manually. This is more challenging because it requires more skill and technique. However, if you have someone who can stand outside and guide you into position, it’s slightly easier. Reversing your caravan may require practice and patience.
The third option is the old-fashioned manual approach, where several people put some elbow grease into moving the caravan. This requires some manpower and is only realistic if there’s a small distance to move your caravan. You should also be mindful that you could injure yourselves pushing the caravan into place. Pushing a caravan down a slope isn’t a good idea either, as it could cause damage to the caravan.
At this stage, you also need to decide whether you will use levelling ramps or wheel jacks to level your caravan. This is because those of you who will use levelling ramps will need to use a motor mover only to drive your caravan onto the levelling ramps and follow the instructions in the below section on how to level your caravan before unhitching the caravan.
2. Release the caravan stabiliser.
Not all caravans have a caravan stabiliser, but if your model does, you’ll need to release this using the model’s quick-release system.
3. Put on the handbrake by pulling the lever up.
4. Manually lower the jockey wheel. Then lock it into place by tightening the side clamp.
5. Disconnect the towing electrics.
Usually, they can be unscrewed directly. Store them safely in your caravan or the provided storage space.
6. Undo the breakaway cable and store it safely.
7. Lift the hitch lever and simultaneously raise the caravan by winding the jockey wheel until the caravan is unhitched from your towing vehicle.
8. Chock your caravan’s wheels using heavy-duty wheel chocks to prevent any movement.
9. Remove the caravan towing mirrors and drive the car away from the caravan.
Park your caravan in whichever parking space is specified on your caravan site. You need to remove the caravan towing mirrors first, as it’s illegal to drive a car with towing mirrors attached if you don’t have a caravan in tow.
How to level your caravan
As well as letting you enjoy your caravan in peace, levelling your caravan is a key step towards making sure that electric appliances such as fridges perform correctly and preventing leaks caused by poor sink and shower drainage.
You will need: A spirit level and a levelling ramp or wheel jack.
1. Use a spirit level to find out whether your caravan is level.
The axle of your caravan needs to be level. To identify whether it’s level, take a spirit level and place it on a hard ground floor in your caravan, avoiding any uneven surfaces such as carpets. Ensuring that it’s completely in contact with the floor and still, read the spirit level to determine whether your caravan needs levelling.
If you’re not using a cross spirit level, you also need to turn the spirit level by 90 degrees and use the same method to work out whether your caravan is level from the front to back.
A spirit level can be purchased online. It’s best to avoid very cheap plastic spirit levels, as they can provide inaccurate readings and quickly deteriorate over time.
2. Level the caravan axle from right to left.
If you have identified that your caravan isn’t level, raise one side of the caravan until the axle is level. There are two methods for levelling the caravan axle:
Wheel jacks:
The easiest option for levelling a caravan is using wheel jacks, which you need to attach directly to your caravan’s wheels. When they are tightened using a spanner, they gently lift the wheel off the ground, levelling your caravan. Some users may find them demanding to use, especially because wear and tear can make the jack stiff.
Levelling ramps:
To use a levelling ramp, you need to drive your caravan onto the ramps using a motor mover. This levels the caravan either by placing the caravan at an appropriate height on the ramp or by setting a height beforehand, depending upon the model.
Heavy-duty plastic levelling ramps are durable and easy to use. You will need a motor mover to move your caravan onto the ramp because reversing your caravan onto the levelling ramps can activate the over-run brake system.
3. Level the caravan from front to back.
Levelling the caravan from front to back requires you to use a wheel jack, following the above method. You will need to raise the caravan’s wheels until the caravan is level.
4. Lower the corner steadies.
Using the corner steady winder provided with your caravan, lower the steadies to the ground. It’s dangerous to enter your caravan without your corner steadies lowered because these are what fixes your caravan into place.
How to pitch on an uneven surface
When you’re pitching your caravan on an uneven surface such as a grass or earth pitch, you should place hard mats or wooden blocks (often sold as ‘caravan steady blocks’) under the corner steadies to give your caravan a sturdy and stable surface.
Grass or earth pitches can change consistency in wet weather, causing your caravan to sink and become unsteady again. Mats and blocks with large surface areas will help to resist this.
Once you’ve pitched your caravan, you’re ready to move onto connecting electric hook-up for caravans or setting up your caravan waste water connection.
Browse our guide to caravanning
FAQ
How do you pitch a caravan on a slope?
Use a spirit level to identify whether your caravan is level or not, then level the caravan axle from left to right using wheel jacks or levelling ramps. Once that’s done, level the caravan from front to back using wheel jacks. Lower the corner steadies to the ground using a corner steady winder.
How do you steady a caravan?
Level your caravan using wheel jacks or levelling ramps, rather than using the corner steadies because this can cause damage to your caravan.
Does your caravan have to be level?
Yes. Your caravan needs to be level for electronic devices such as caravan fridges to work correctly. It also protects against damage to your caravan and makes living in the caravan more comfortable.